Today’s post is from local blogger Angela Mercer-Penny. Her blog is called Five on Nine Farm, which is where she originally posted this piece. She lives outside of Sydney and also owns Sweet Biscuit Bath and Body , on Charlotte St.
There comes a point when spending money gets exhausting. I’m not much of a shopper, but I like deals, and I love secondhand, but I’d rather make it myself if I can.
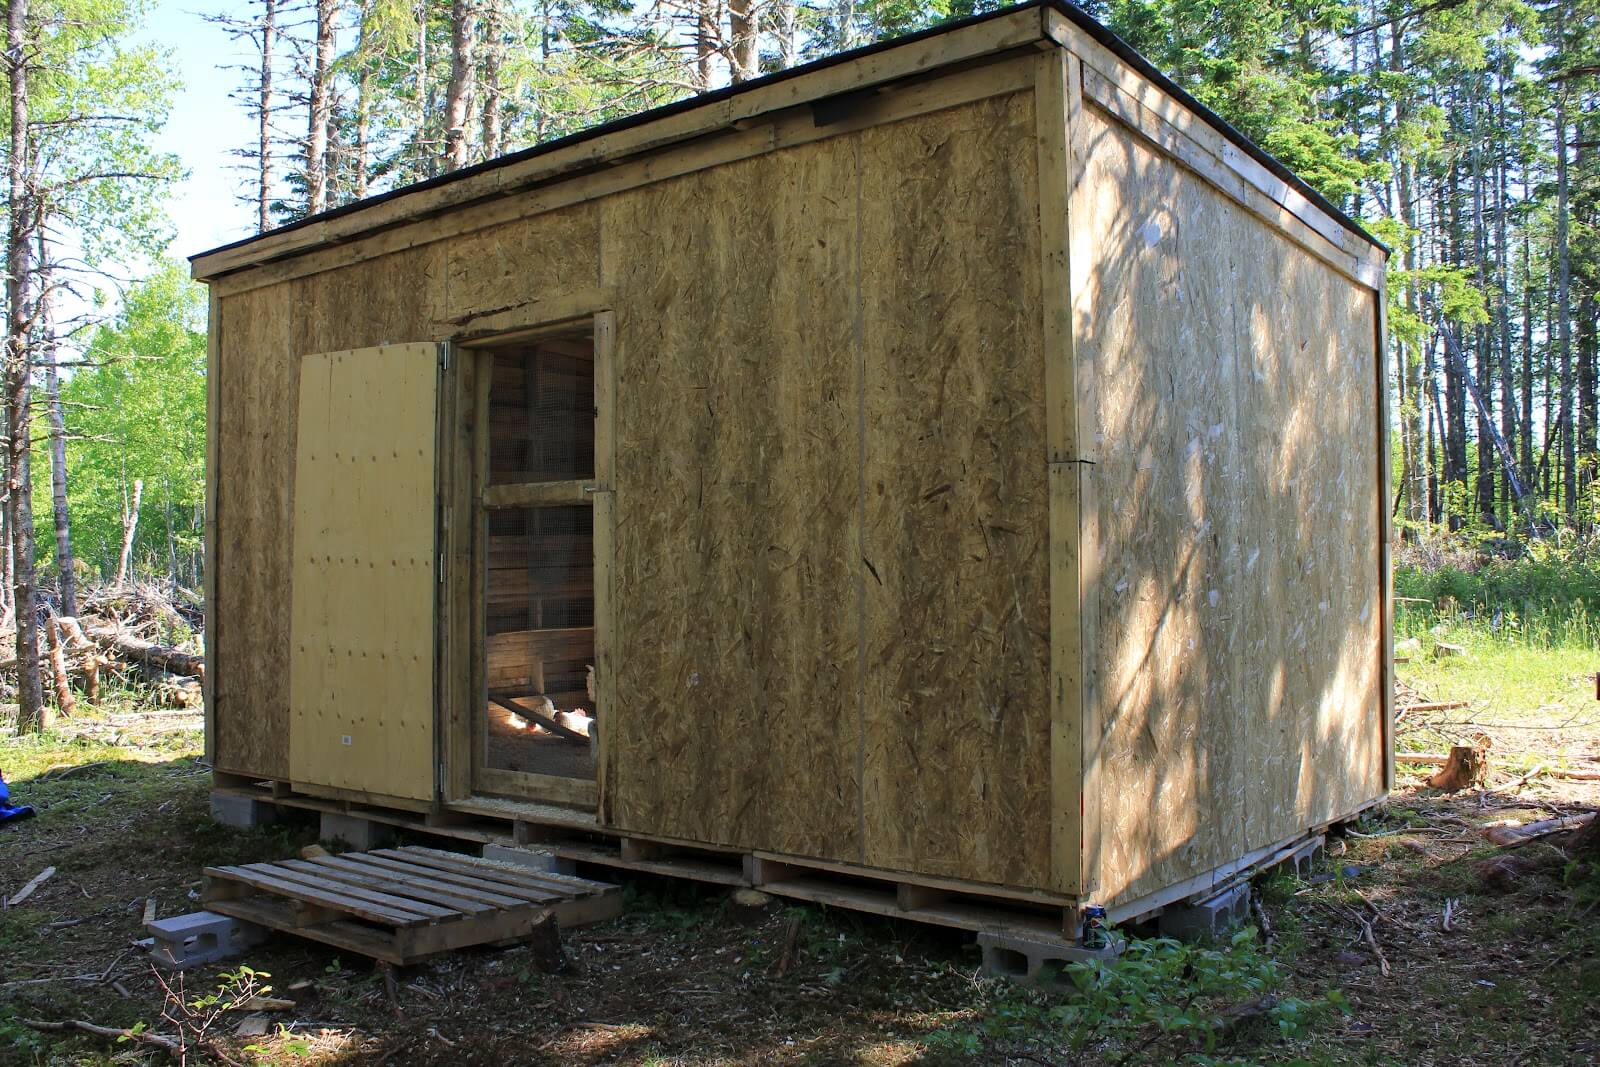
My handy husband just finished building me a second chicken coop, and he did it out of pallets. We had a limited budget, and wanted to keep the cost down as much as we could. When I calculated the square footage for painting, I was going to need 3 gallons to cover it. Even on sale, it was $100 in paint. That was too much.
Looking for a deal I went from store to store looking for mis-tints – you know, those half price cans that were tinted but not purchased. The colors were horrible, or they were oil and I wanted latex, or they were interior and I needed exterior. It just wasn’t working the way I hoped.
That left me using my creative brain for a minute. I thought, couldn’t I make something? I had heard of milk paint before. Could I actually make it myself?
Of course I could!
There are a few recipes online, some using just milk, some using vinegar and milk and some using cottage cheese. I opted for the milk recipe, but had to modify along the way, as you’ll see.
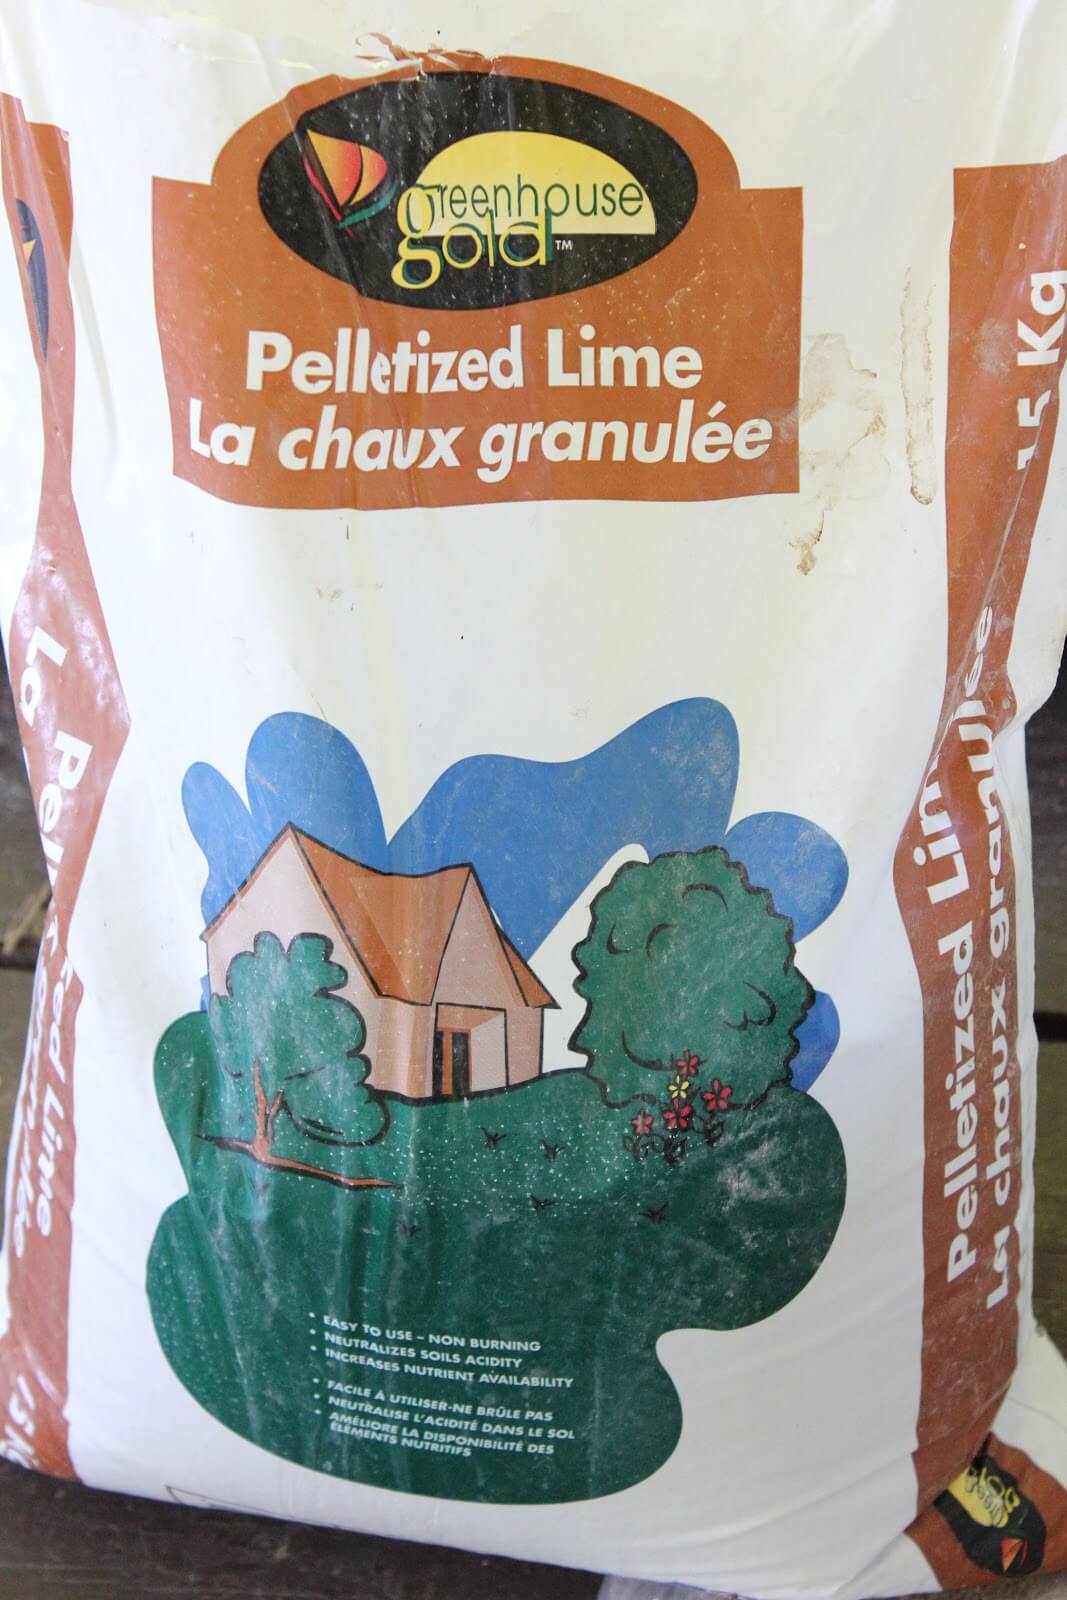
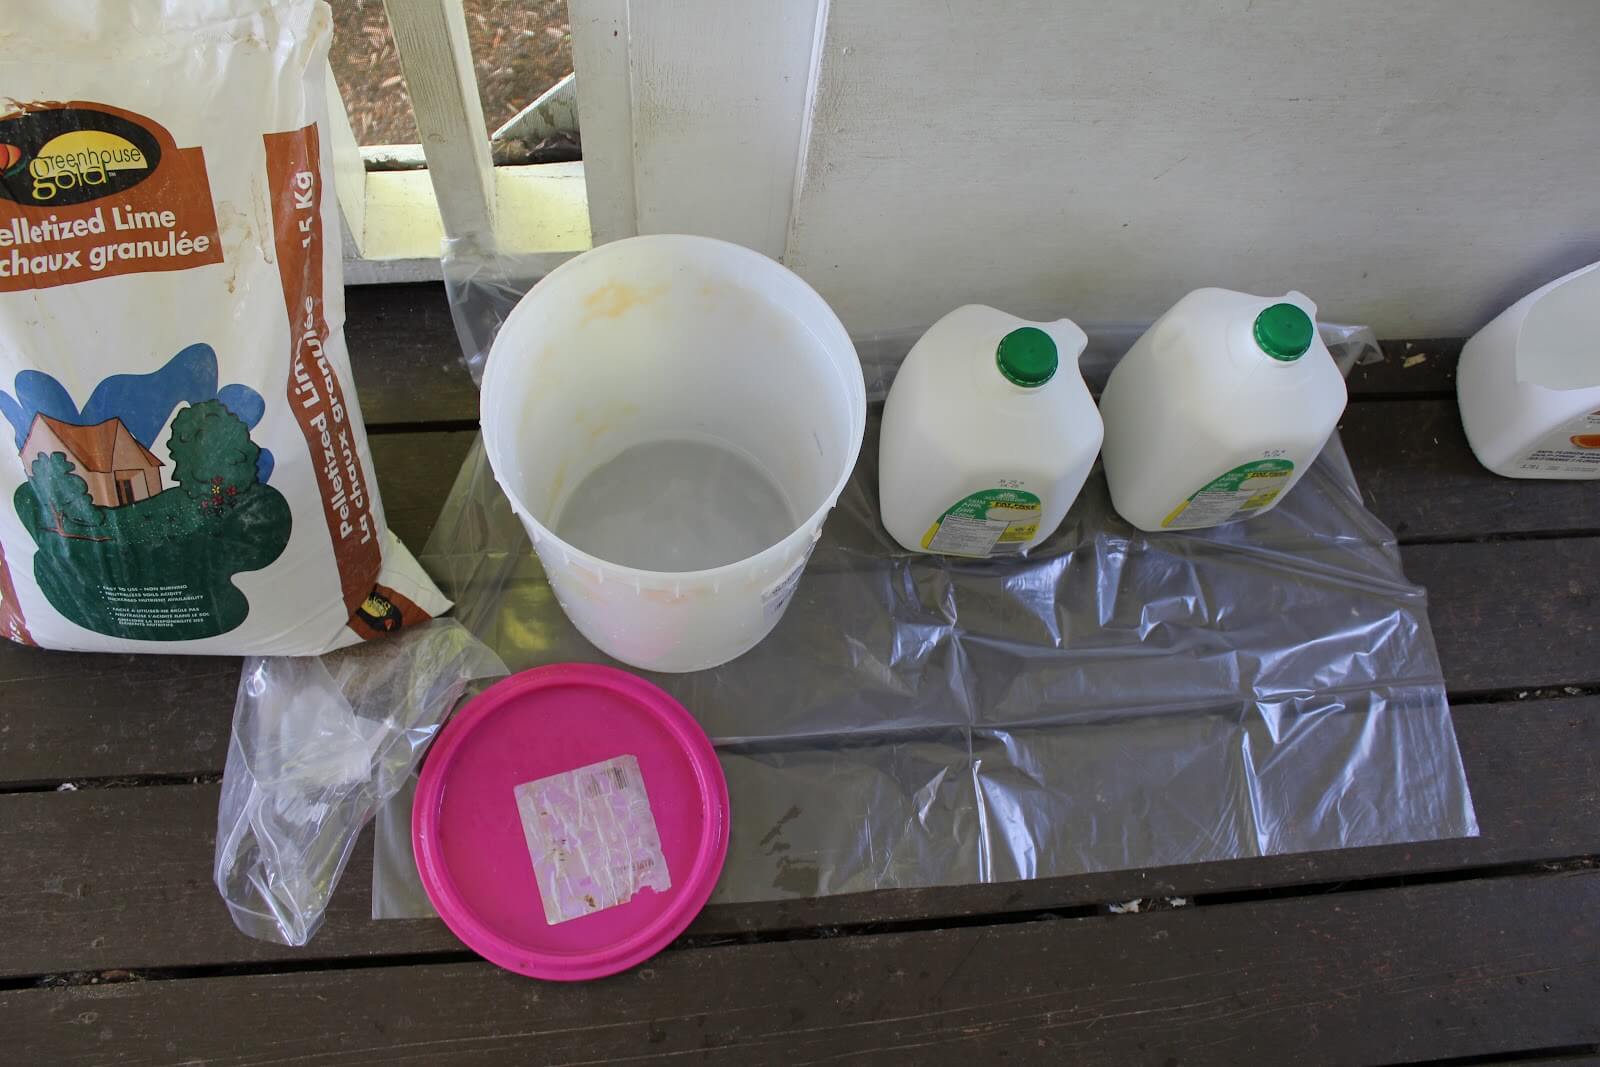
The recipe calls for lime, so I picked up a bag at a garden center. It’s 15kg and cost $4.97. You don’t need very much of it, so be prepared to have lots left over for your lawn. You have to by lime, not quicklime. In this recipe you will use about 1/4 cup of lime per 2L milk.
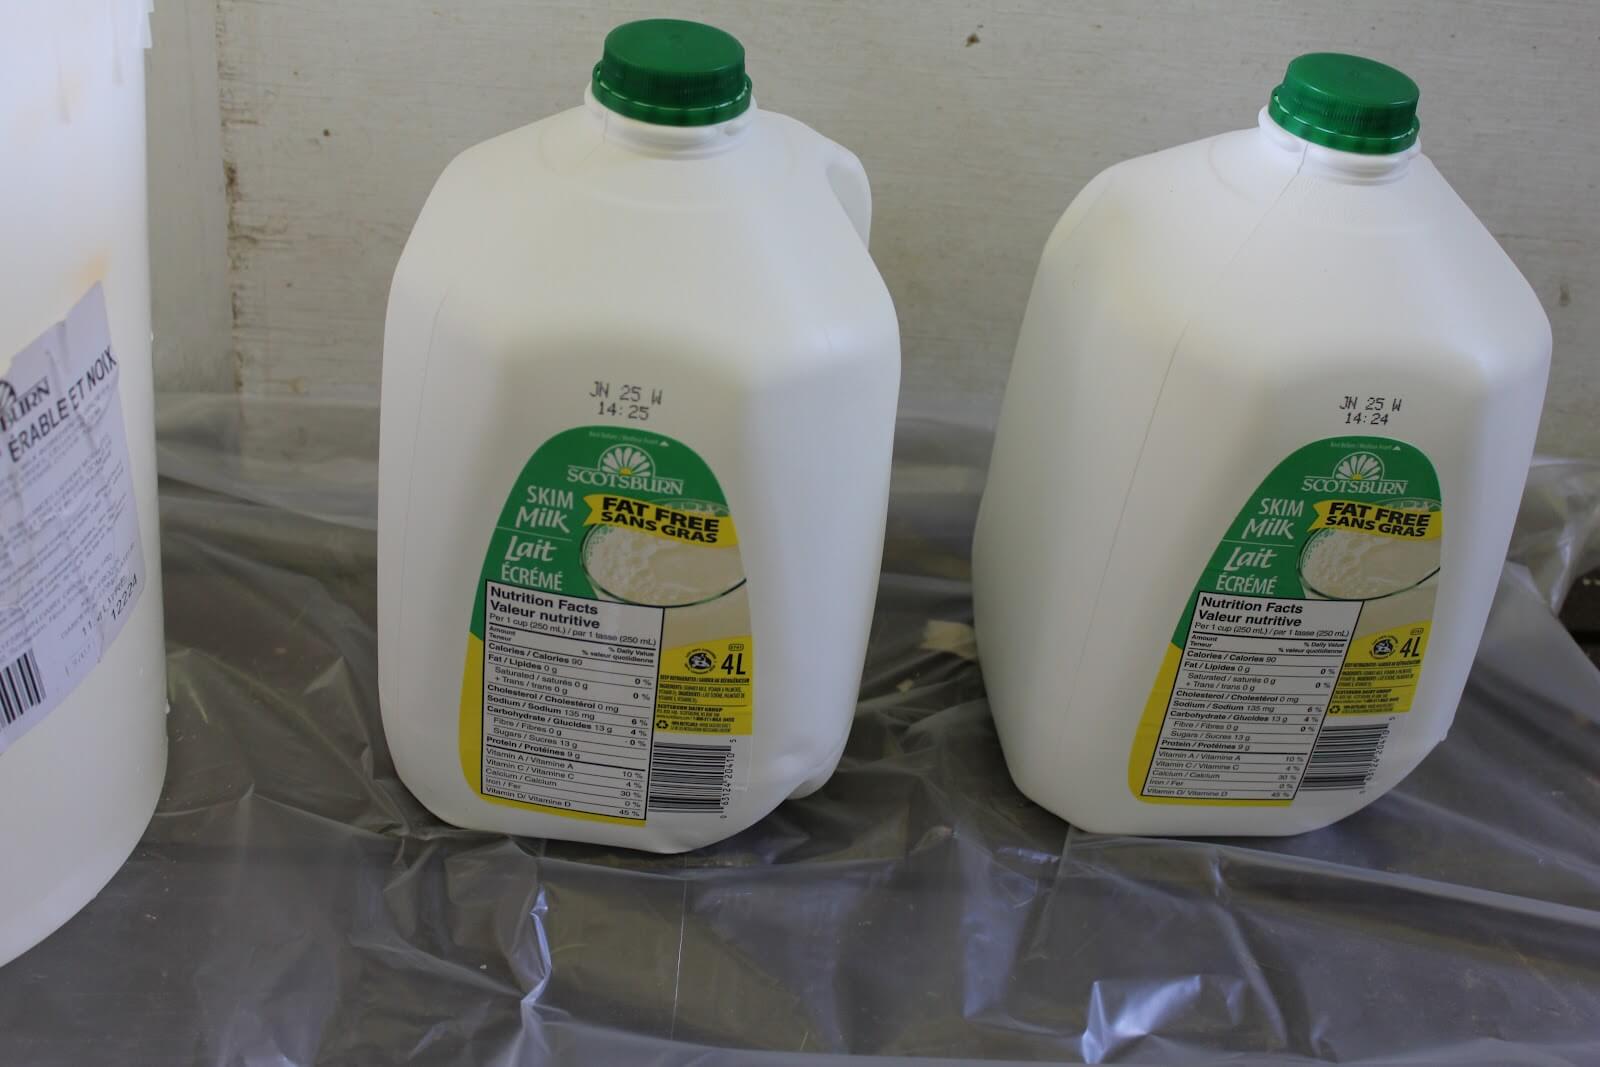
Next is the milk. Buy skim and leave it sit at room temperature, at least overnight. I mentioned I had to modify the recipe, and this is where. The milk should be curdled for the easiest and thickest paint to work with. Empty the milk into a large plastic container and add 1/2 cup of vinegar per litre of milk. Leave it somewhere warm-ish for a few hours.
I used an old 11L ice cream container for mixing.
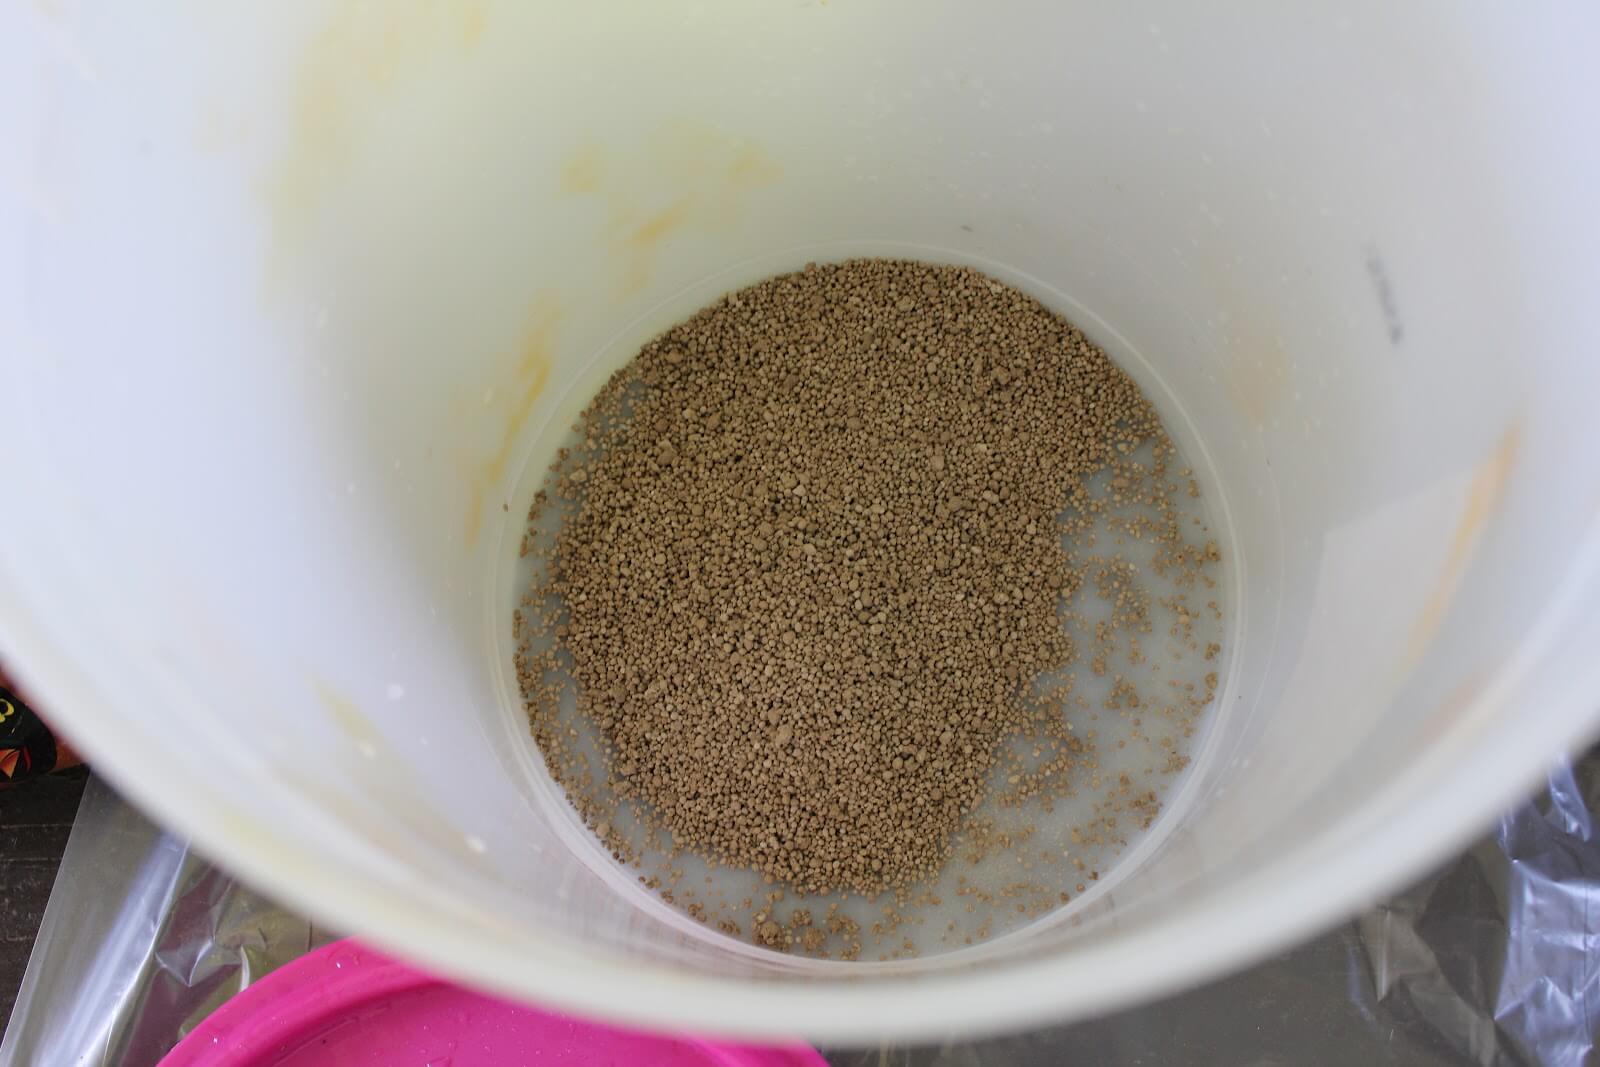
Add the measured lime into the container.
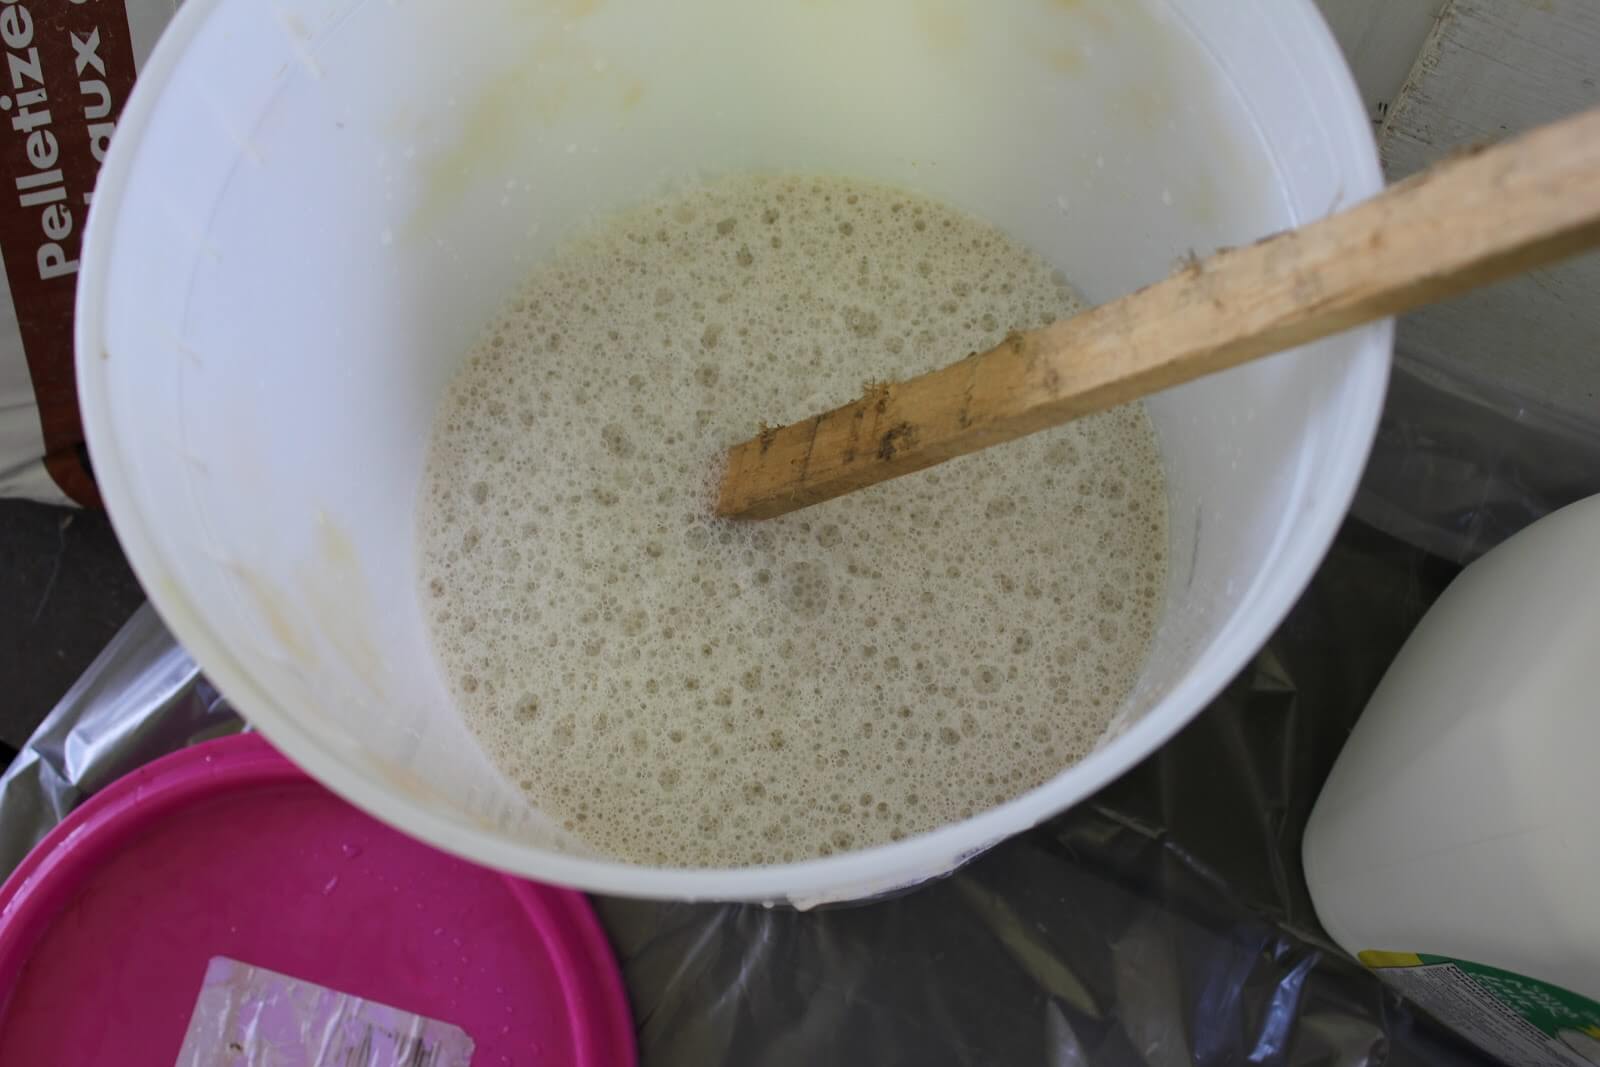
Add enough of the curdled milk to dissolve the lime, and stir, stir, stir. When it’s really creamy add the remainder of the milk.
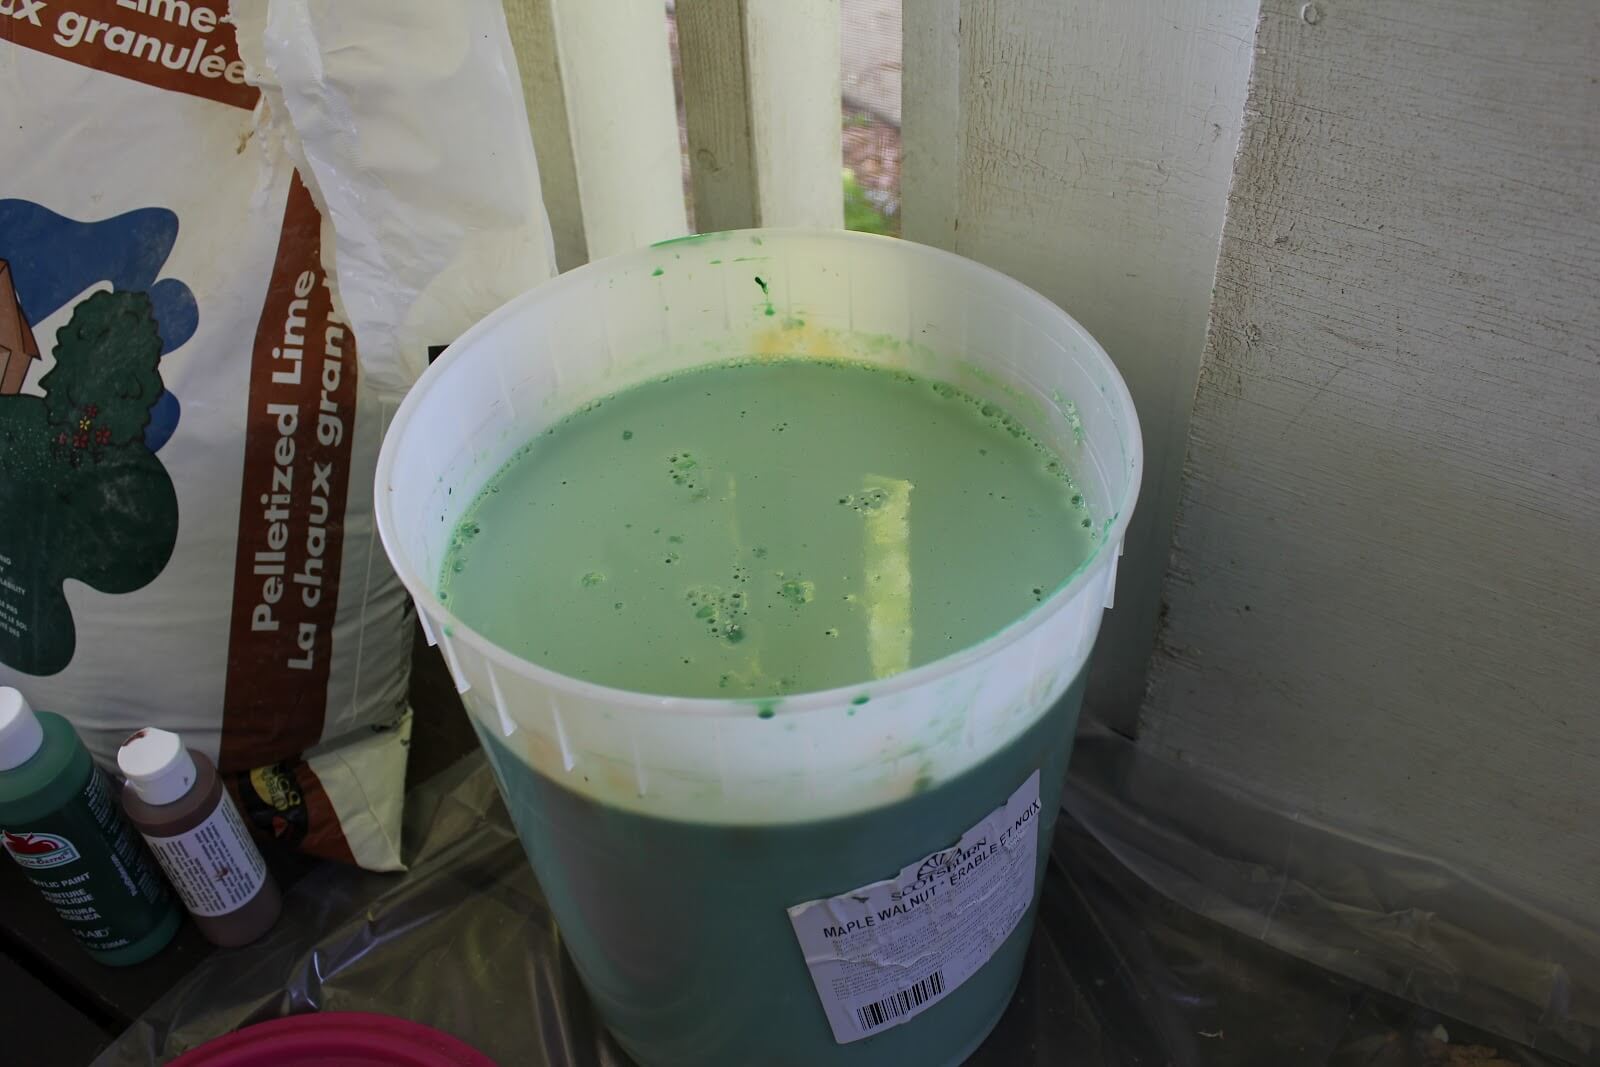
Next it’s time to add the color. You have a few options for color.
- Oxides and/or natural pigments. These give you the best coverage. You can buy them at craft stores.
- Acrylic paint, like those little tubes of tole paints. They work, but you will have to seal them if exposing to the elements.
- Latex paint. You can add in a bit of already tinted latex paint for color. Some stores sell small cans of “testers” for about $5 or $6. Get the color you want mixed and add it in.
The colors that you add in will be a bit more diluted once in the paint, so prepare for this when choosing your color.
I started with acrylic in green, hated it, and added black oxide instead.
I put the oxide in a ziploc bag with a bit of cornstarch as a thickener and added a few cups of my paint. Then I sealed the ziploc bag and squished it in my hands until it was thoroughly mixed, then poured it back into the paint.
This is the coop “Before”, front view:
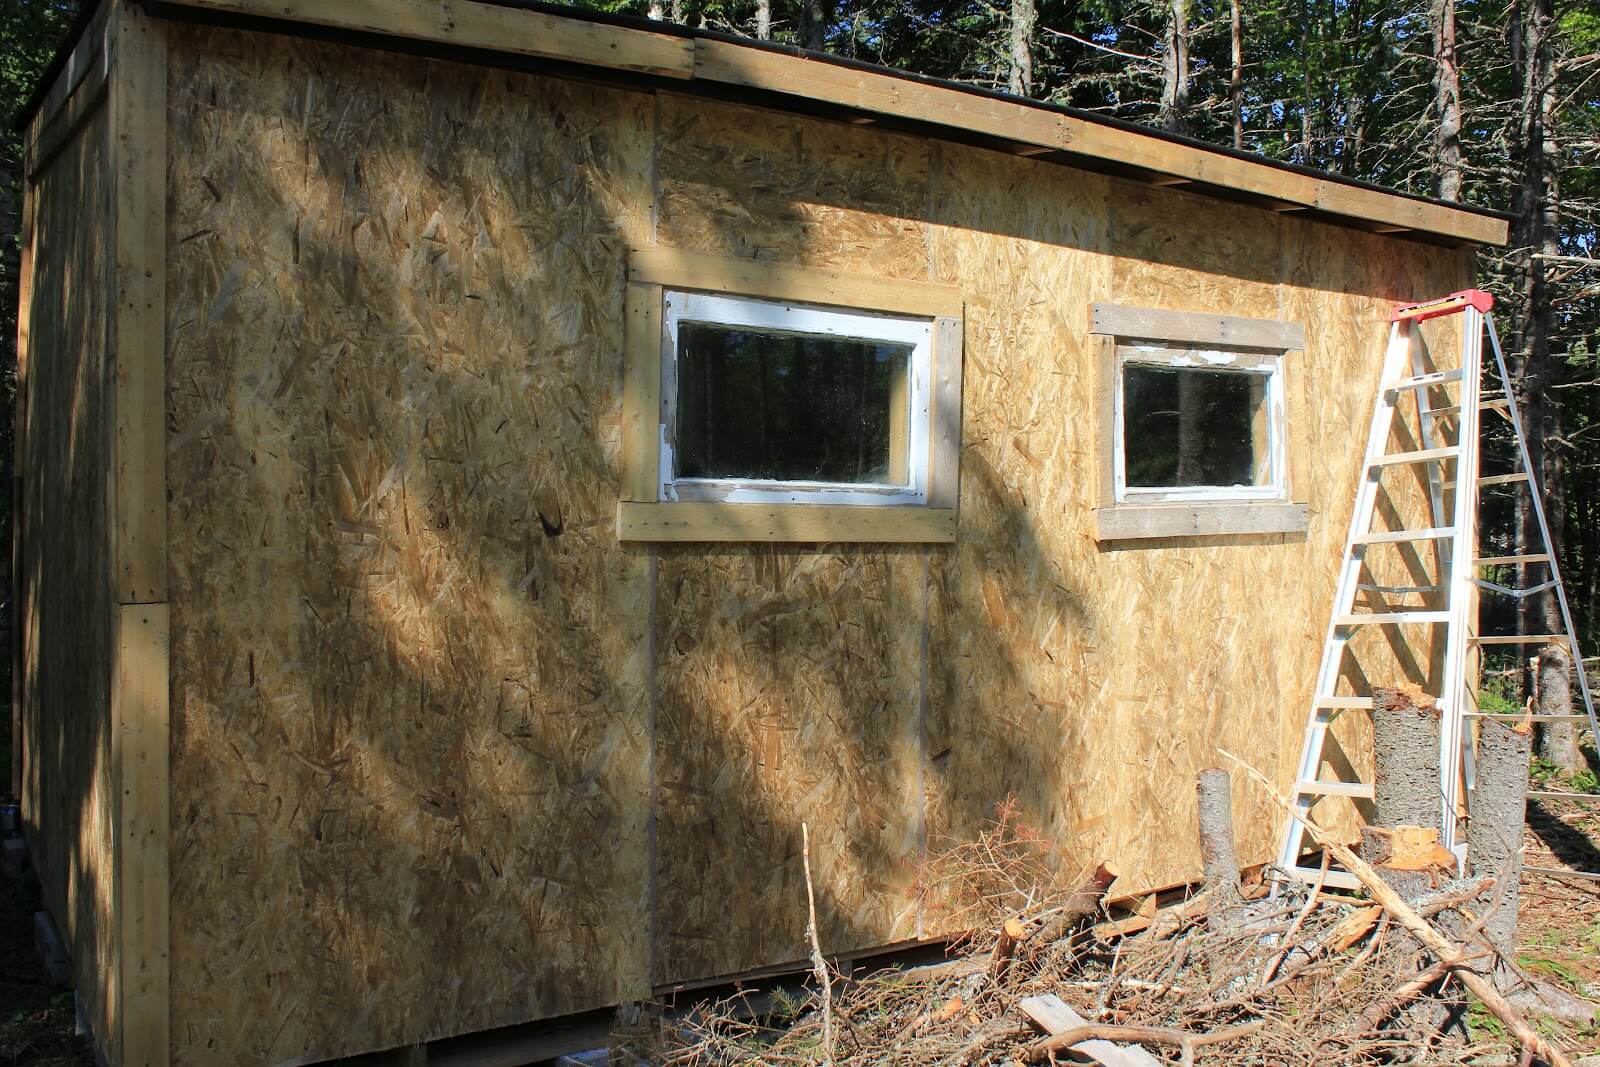
Back view.
Although it’s not truly an “after’ yet, as I still have to do the trim, I wanted to show you anyway. This is two coats, and it has awesome coverage.
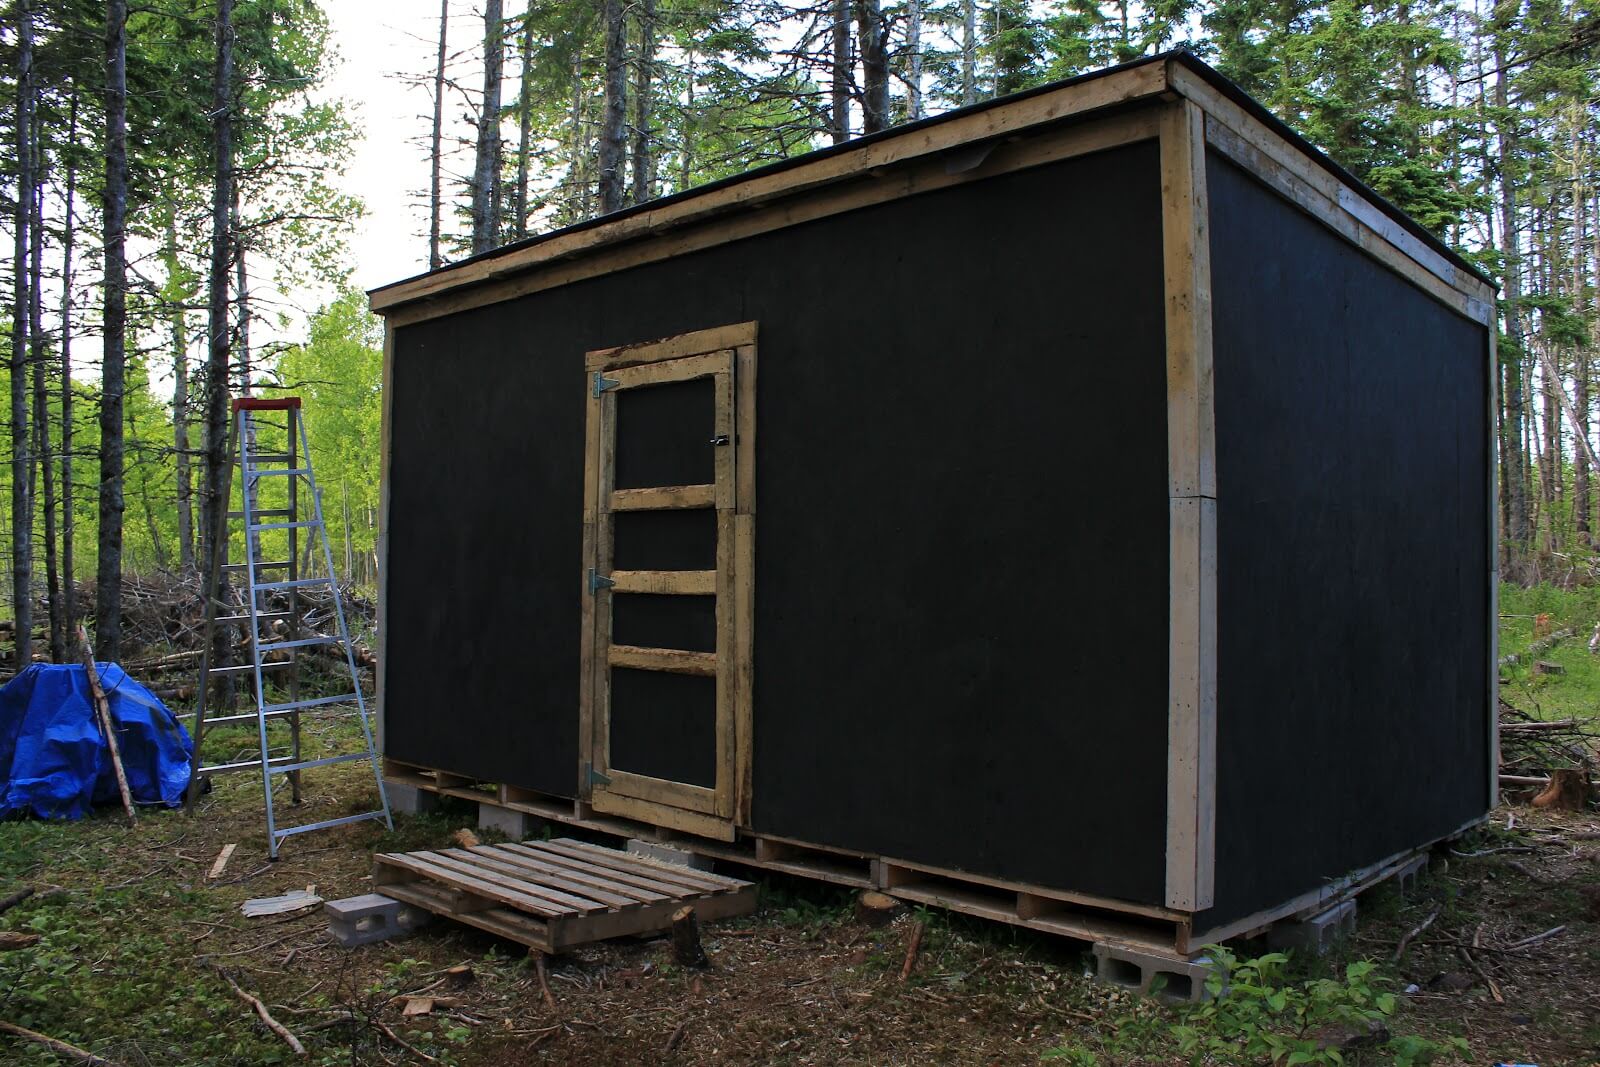
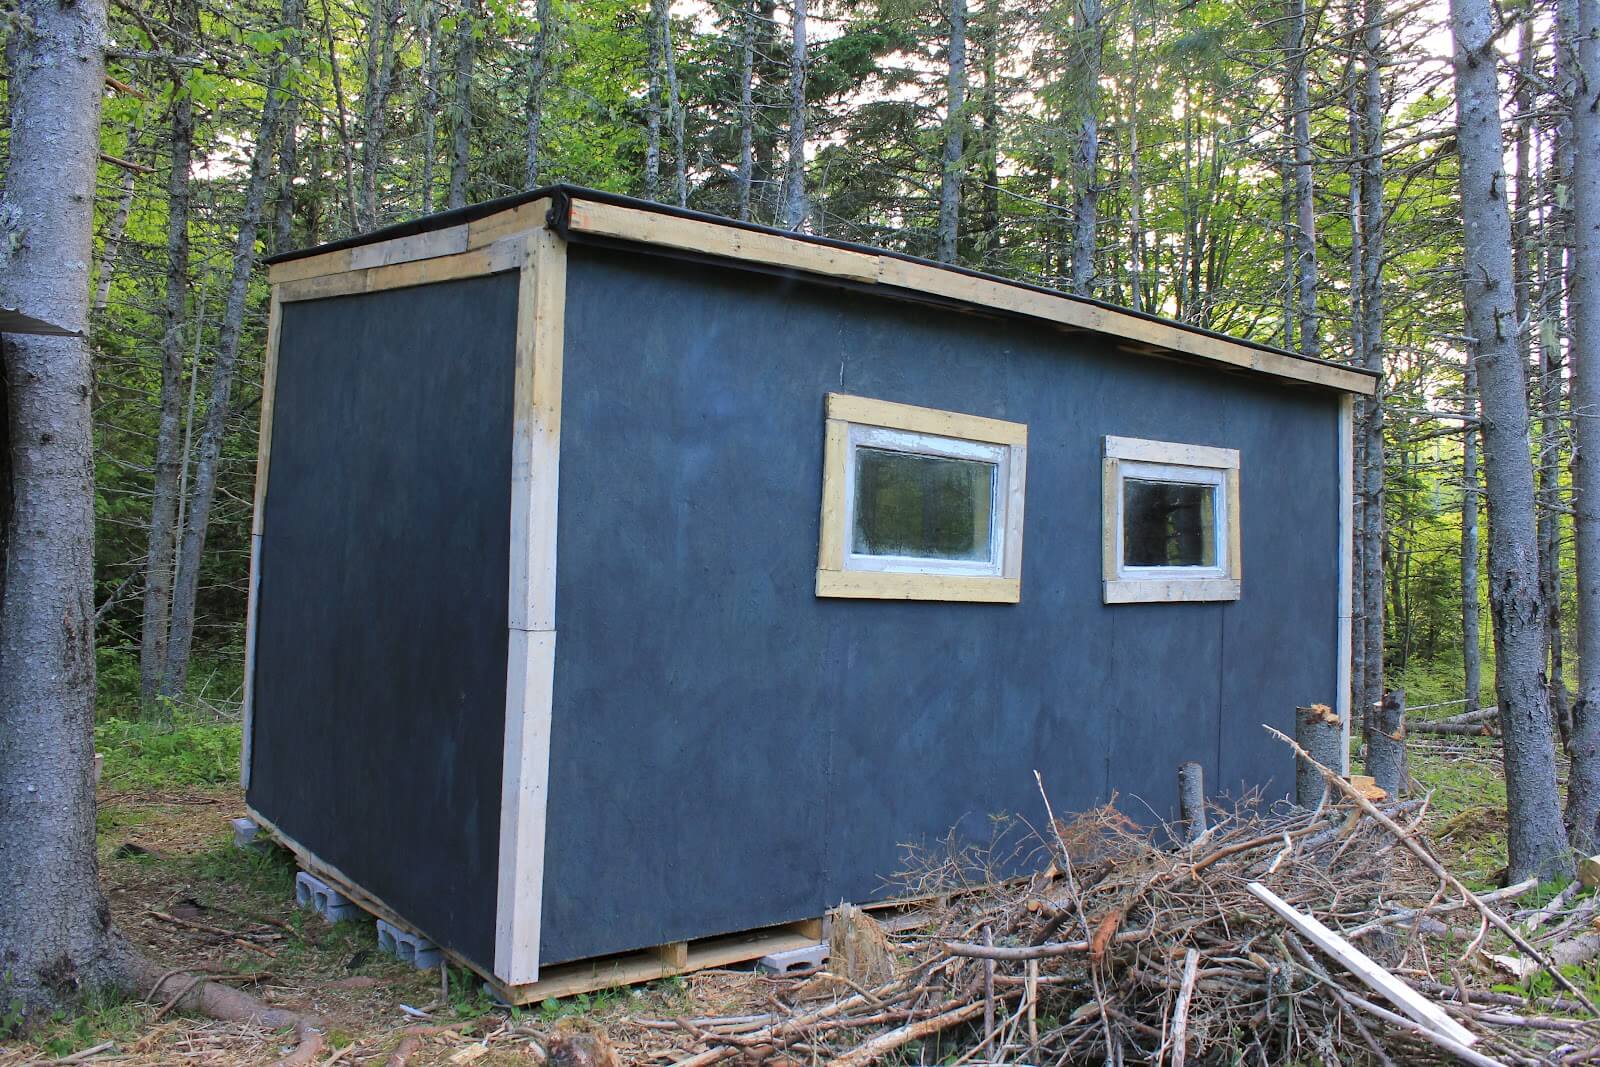 I’ve decided that I am going to do a linseed oil wash over the entire coop once the trim is painted. It’ll seal and help protect the paint from the weather.
A few things that I’ve learned along the way…
- The paint feels different than latex paint. It’s much thinner, but thickens up more if you continue stirring. I did the first coat, put it in the fridge, and applied the second coat the next day. The second day the paint was much thicker.
- It is extremely more cost effective. This coop is 400 square feet, and as I mentioned it would have cost $100 to buy paint. I painted this for approximately $17.
- Use a natural bristle brush, not a synthetic one. I painted the entire coop with a cheap $1.00 brush from Walmart. I tried a roller but this porous chipboard wasn’t loving the roller, so by hand and brush it was.
Overall: This was really easy, like super easy. I’m now mentally preparing to buy a cow and go into the Milk Paint business. Maybe…
Thanks Angela! If you liked this post, check out more Frugal Friday posts on this blog here and here . Erika Shea, our regular Frugal Friday writer, will be back soon.


Have you hear of adding oil (tung, linseed, or hemp) and mixing it in the milk paint? Or adding a binder? How is it holding up? Thanks for the information!! We too have a chicken coop (tractor) we are wanting to use it on.
Where did you get your oil to wash over the coop?